Google Sheets: Read and Write Data
Connect Google Sheets, read a small cell range to verify access, and append one new row. Test the read first: a saved connection does not prove resource access, and read access does not prove write access.
- Result
- Read known cells from Google Sheets, then add and verify one test row.
- You need
- A Google account with access to a non-sensitive test spreadsheet and permission to edit it for the write test.
- Usage
- Real runs use workspace credits and may incur charges from the connected service.
- What changes
- The read retrieves data without changing cells. Add Single Row writes real data, even when the automation is in Draft; repeating it can create duplicate rows.
Before You Start
- Open the Glow workspace where you will build the automation. Connections are workspace-specific.
- Choose a test spreadsheet and worksheet. Check that the intended Google account can open them and has permission to edit them for the write test.
- Put recognizable, non-sensitive values in a small range such as
A1:B3. Keep the read test separate from any Steps that send messages, change records, or delete data.
1. Connect Google Sheets
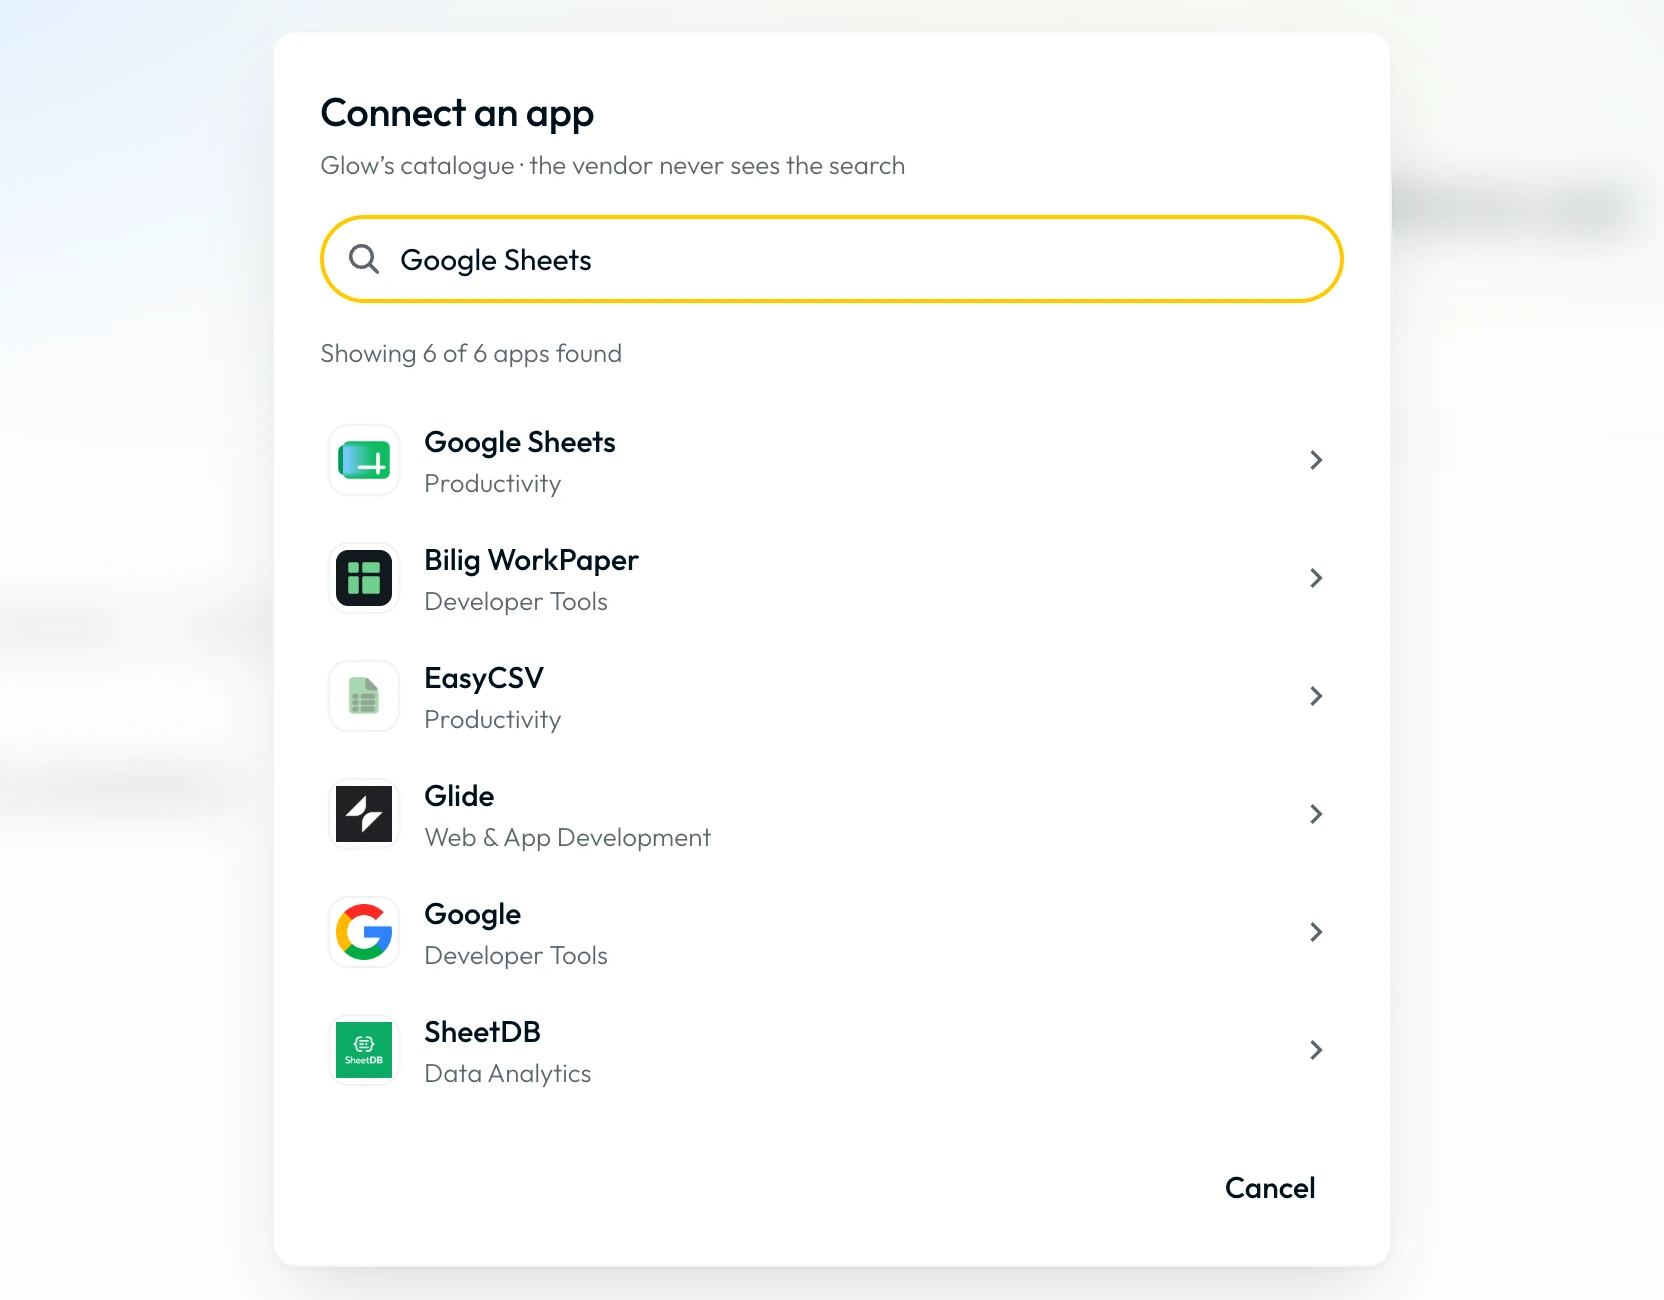
- Open Connections and click Connect an app.
- Search for “Google Sheets” and select it.
- Follow the connection form and sign in with the Google account that can access your spreadsheet.
- Review the permissions shown by Google before approving them.
- Complete Google’s consent prompts and return to Glow.
- Click the saved Google Sheets connection’s tile under Your connections. In its details, check that Connected as identifies the intended account without Needs reconnecting.
- In your automation, add a Google Sheets Step. Select your saved connection from the Connection dropdown.
If you already have the intended connection, select it rather than connecting again. For sign-in or account-selection help, see Connecting an App.
2. Read a Small Range
The same connection can read and write, subject to the account’s permissions. Get Values in Range retrieves rows already in a sheet; Add Single Row writes a new row.
- Open Apps, search for Google Sheets, and pick Get Values in Range.
- Choose your Connection, then the Spreadsheet ID and Worksheet ID (keeping Mode in the Step’s
⋮menu set to HTTP to configure fields manually). - For a first test, set Range to a small range of non-sensitive cells, such as
A1:B3, containing values you can recognize. - Follow the test procedure below to run the read action. Inspect its Executions output before mapping returned fields into later Steps.
Reading first is what makes a “go through the rows and do something with each” automation possible: feed the output into a Step set to Each item, or into a Repeater if each row needs several Steps.
Looking for a specific value rather than a range? Find Row searches a column and returns matching row numbers and values. Enable Export Row if you need the full matching rows.
3. Test the Read
Prepare a small, separate test
Use a separate automation kept in Draft. Add a Click to start trigger followed by only the Get Values in Range action. Select the intended Connection and your test spreadsheet, worksheet, and range. Use concrete field values for this check, rather than values from earlier Steps.
Run the automation, not saved test data
Open the dropdown beside Run in the dock, select the trigger under Manual run starting step, and click Run once.
- Executes the connected Google Sheets action against your spreadsheet.
- Confirms your OAuth connection and sheet permissions work.
- Replays saved test data on an ordinary app action.
- Does not call Google Sheets or verify account access.
Check the result and continue
Open the app Step’s Executions tab and inspect the output from this automation run. Compare it with the known values in your test sheet’s A1:B3 range. Success means it returned the expected data from the intended resource, not just a green status or an empty result.
If the read fails, use connection troubleshooting before retrying. Recheck the account and destination before the write test below; a successful read does not prove permission to write.
4. Add One Row
Carry the same Google Sheets connection through an Add Single Row Step after the read-only access check succeeds.
An automation run performs real work, even in Draft. Use a test spreadsheet for this example: Add Single Row writes data. Executed work uses workspace credits and may incur charges from the connected service. Check the sheet before retrying a failed or timed-out write to avoid duplicate rows.
- Open Apps in the dock, search for Google Sheets, and pick Add Single Row. It lands on the canvas; connect it after the Step whose data it should record.
- Click the Step. Choose your Connection, or Connect a new connection… if none is connected yet (keeping Mode in the Step’s
⋮menu set to HTTP). - Select the test Spreadsheet ID, then the Worksheet ID. Check both selections before writing.
- Enter the row’s Values as a list in column order, for example
["connection test", 42]. Leave the optional Row Index blank to append. Setting it inserts a row at that position and shifts existing rows down. - Review all Steps that the automation will run, then click Run in the dock once. Confirm in both Executions and your test spreadsheet that one new row contains
connection testand42before repeating a run.
- Run
- Select the Click to start trigger as the starting Step and click Run in the dock once.
- You should see
- Get Values in Range returns your A1:B3 cells, and Add Single Row appends one new test row.
What’s Next?
- Automation Data explains how to use a Step’s output in later Steps.
- Testing & Debugging covers run points and inspecting results before retrying.
- Managing Connections covers reconnecting and checking dependent automations.