4. Your First AI Agent
Build a conversational assistant with Chat Trigger and an AI Agent. Set its instructions, pass conversation history into each turn, and test it on the canvas before sharing a hosted chat link.
- Use it to
- Build and test a two-Step conversational assistant (Hosted Chat Trigger + AI Agent) with session memory
- Find it
- Automations → Create new → Workflow (Tools → Start → Chat Trigger + AI → AI Agent)
- Cost
- Free for Chat Trigger · Glow AI tokens per agent turn (no external API key)
- Limits
- Default caps: 10 iterations · 40 model calls · 25 tool calls · 180 active seconds
- Output
- Interactive reply in the Chat tab and a Hosted Chat URL when Live
- Instead
- AI Prompt (/build/ai-features/ai-prompt) for single-turn classification or drafting
You need Step credits and Glow AI tokens; the managed model needs no external API key. Keep the automation in Draft while testing. Draft is not a sandbox: each test message runs the agent for real and consumes tokens (How testing works).
What you will learn: How AI Agent differs from AI Prompt, how
Chat Trigger hosts a web chat page, how historyText compares with
Conversational Memory, and how to test and share the live link.
AI Prompt vs. AI Agent: The Difference
- Processes one input and returns one text or structured response.
- Does not call external tools or keep session memory.
- Best for classification, summarization, and one-shot drafting.
- Built for interactive, multi-turn goals and conversation context.
- Calls permitted app tools and searches live web pages.
- Guided by instructions while tool permissions enforce boundaries.
Step 1: Create a fresh automation
Open Automations → Create new (or Create automation) and select Workflow. Close the Workflow Assistant panel for extra canvas space.
Step 2: Add the Chat Trigger
Open the trigger catalogue
Click Click to Add Trigger on the canvas.
Choose Chat Trigger
Select Tools → Start → Chat Trigger to open its App drawer.
Configure the chat interface
| Field | Setting | Purpose |
|---|---|---|
| Mode | Hosted Chat | Standalone public chat URL. |
| Authentication | None | Admits anyone with the link. |
| Chat title | Glow Assistant | Window heading. |
| Welcome message | Hi there! How can I help you today? | Initial greeting. |
| Input placeholder | Ask me anything... | Input box placeholder. |
| Conversation memory (messages) | 20 | Prior messages sent to historyText. |
Step 3: Add the AI Agent
Open the action placeholder
Click Click to Add Action next to the Chat Trigger.
Choose AI Agent
Select AI → Glow AI → AI Agent.
Select the Model
Keep Brain (model) set to Gemini 4 Argon (managed default).
Set Primary Goals (Instructions)
Leave app tools off, keep the answer format as Text, and enter this prompt in Instructions → Primary goals:
You are a friendly, helpful AI assistant.
Answer the user's questions clearly, accurately, and concisely.

Current user message:
{{ 1.chatInput }}

Recent conversation history:
{{ 1.historyText }}
{{ 1.chatInput }} passes the latest message and {{ 1.historyText }} passes prior messages from Step 1 (or pick them from Workflow data). Connect the Chat Trigger to the AI Agent; the final Step’s text output becomes the chat reply.
Default Advanced runtime limits cap each run at 10 iterations, 40 model calls, 25 tool calls, and 180 active seconds. AI Agents run once per execution; use a Repeater to loop over a list.
Step 4: Enable Conversation Memory
Chat Trigger History
Chat Trigger historyText passes the last 20 messages into the
prompt. It is sufficient on its own for this tutorial.
Turn on Memory
In the AI Agent’s App drawer, open Context (or click Memory on the card) and turn on Conversational Memory.
Select Conversation ID source
Set Conversation ID source to Use data from an earlier Step.
Map the Session ID
In Conversation ID, select sessionId from Step 1 (Chat Trigger):
{{ 1.sessionId }}Each browser session keeps its own thread. For internal workspace-only chats, set Authentication on the Chat Trigger to Glow User Auth.
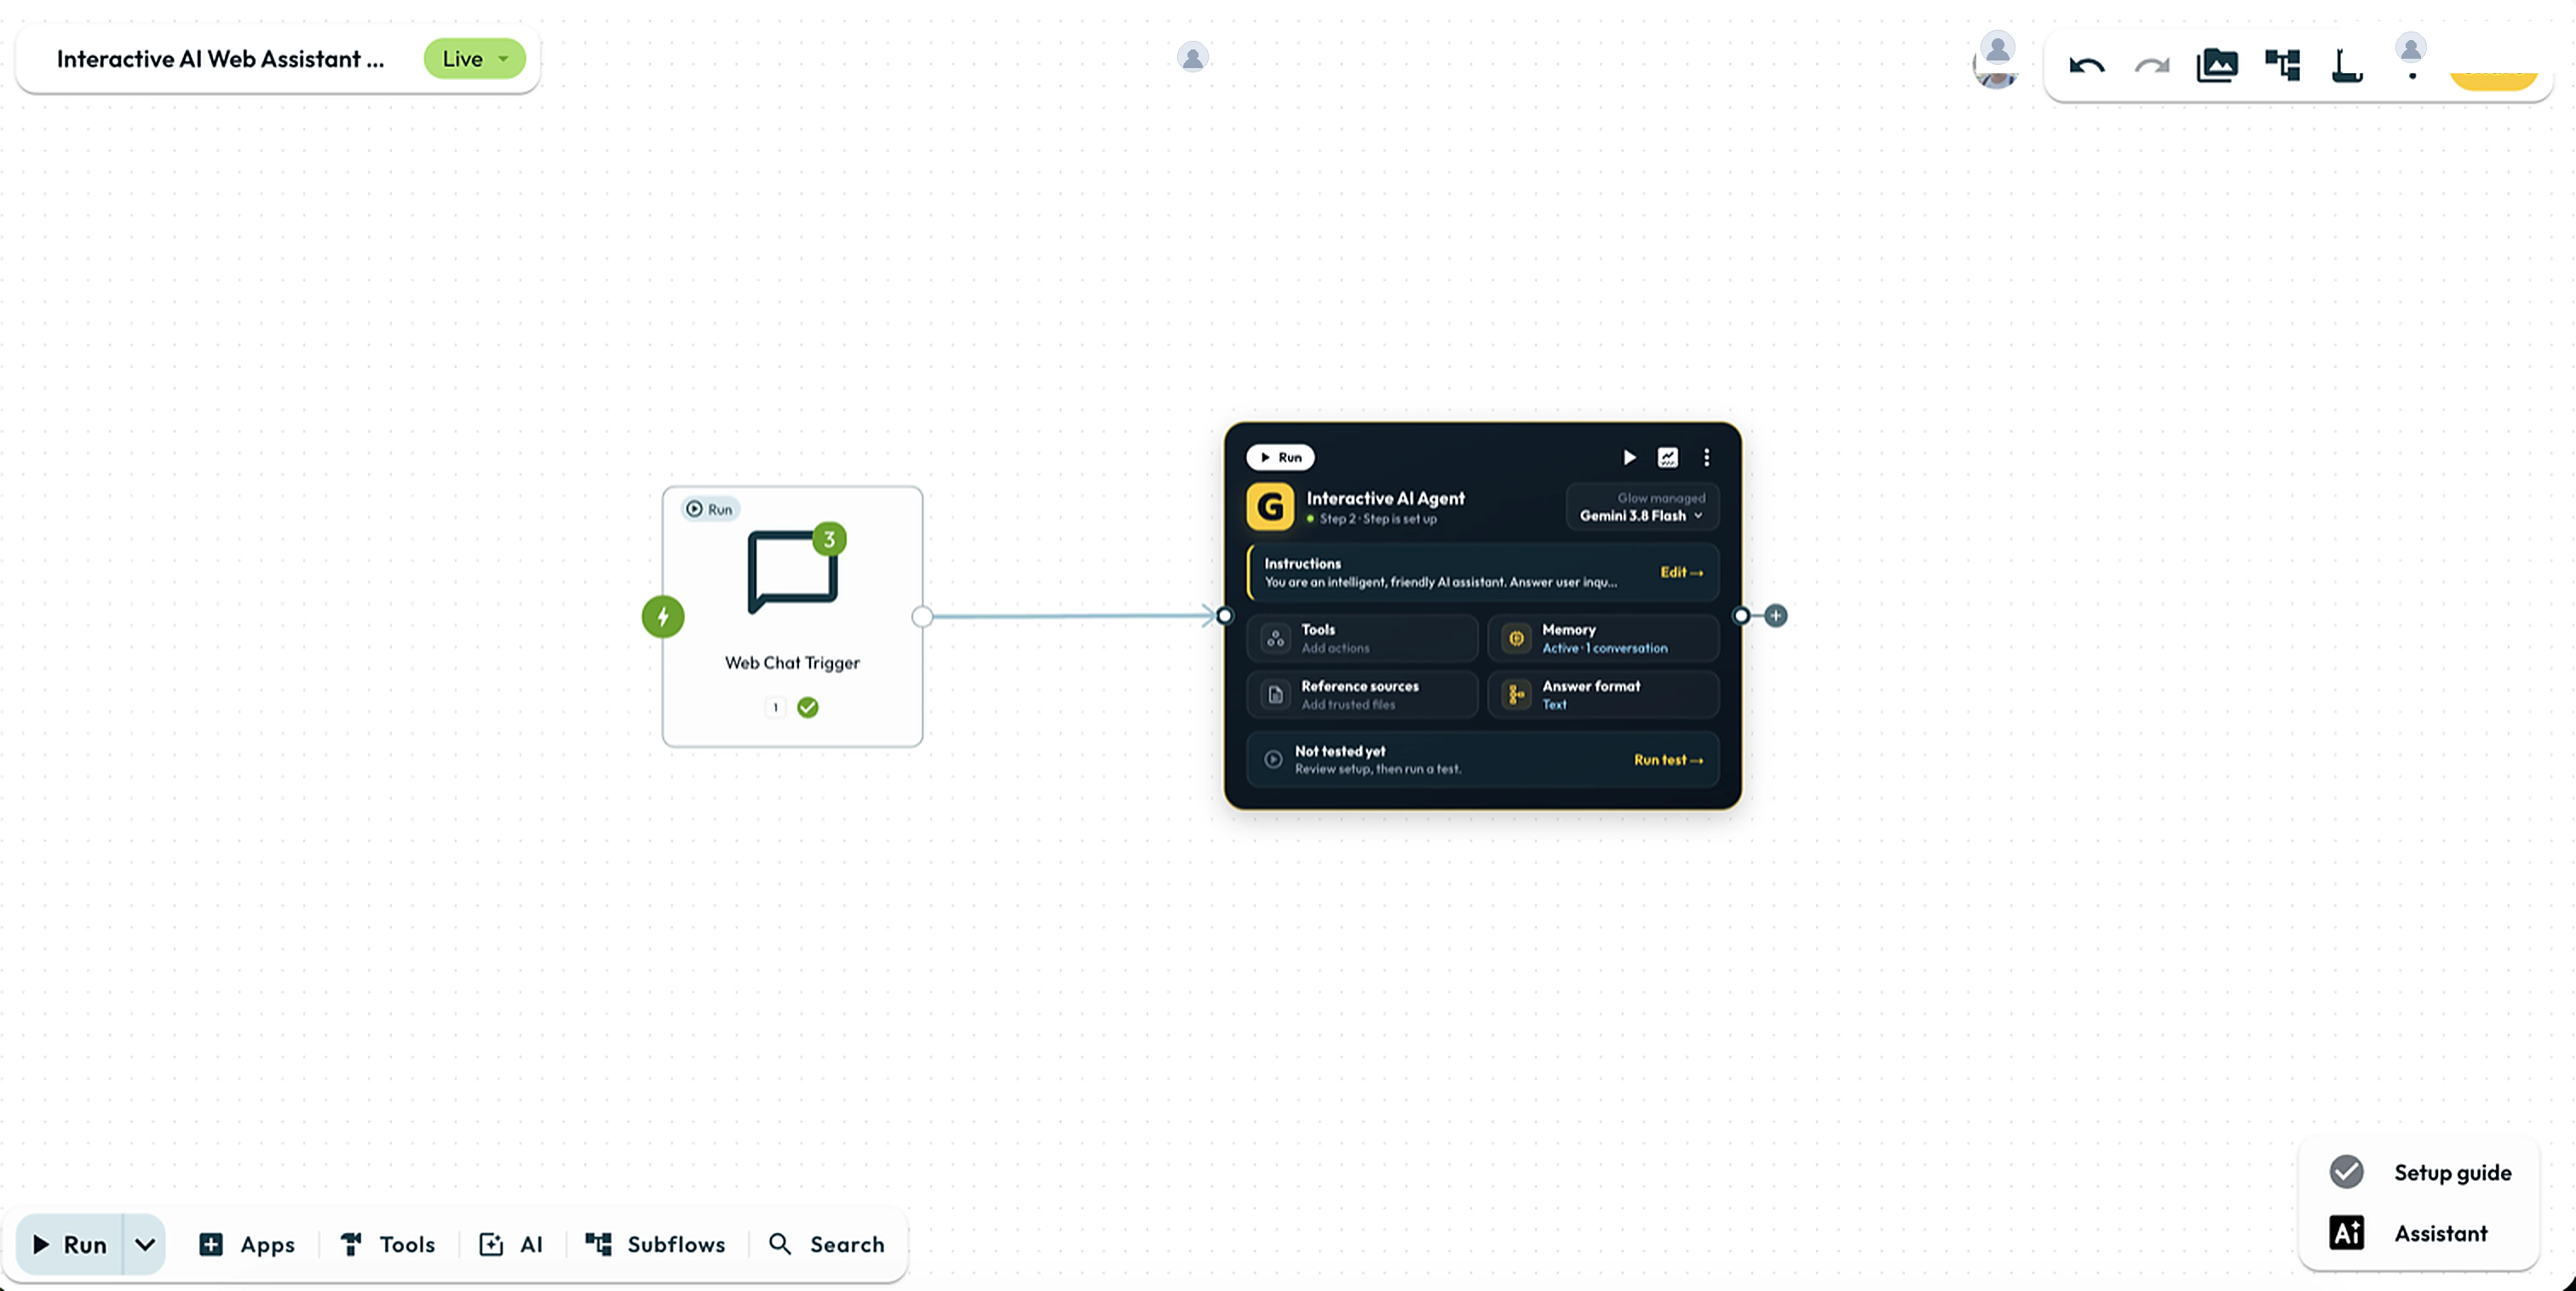
Step 5: Test the Assistant on Canvas
Each test message runs the connected automation, consumes tokens, and executes any enabled tools even in Draft.
Open the Chat tab
Select Chat Trigger and open the Chat tab in the App drawer.
Send a fact to remember
Send this message and wait for the reply:
Please remember my favorite fruit: Blueberry.Verify memory recall
Ask in the same chat:
What is my favorite fruit that I just told you?Confirm the agent replies Blueberry. To test Agent Memory alone, set Conversation memory (messages) to 0, test a new fact, and restore it to 20.
Step 6: Go Live and Share
Check Authentication before publishing: None admits anyone with the link, while Glow User Auth requires workspace sign-in. Public chats spend workspace tokens and credits; per-visitor rate limits do not cap total spend.
- Switch the top-left status from Draft to Live.
- Select Chat Trigger and copy the Hosted chat page URL.
- Open the URL in a new tab to chat with your live assistant.
What you just built
- Hosted chat UI: Public or workspace-authenticated chat page.
- Managed AI Agent: Runs Gemini 4 Argon without an external API key.
- Session memory: Combines
historyTextwith session-keyed Agent Memory ({{ 1.sessionId }}).
- Run
- In the Chat Trigger Chat tab, send 'Please remember my favorite fruit: Blueberry.' then ask 'What is my favorite fruit that I just told you?'
- You should see
- The AI Agent replies in the chat thread and recalls Blueberry.
What’s Next?
👉 Explore Use Cases & Examples →
- Equip App Tools: Toggle Search the web or attach app actions.
- Optional: Working Together: Collaborate on a shared canvas.
- Chat Trigger Reference: Configure Embedded Chat and auth.