Step Templates
A Step Template shares a workflow as a full, editable copy. Using one clones the whole canvas into your own workspace: triggers, steps, connections, and logic.
This gives you full freedom to dissect how the automation was built and customize it to fit your needs.
Choosing the Right Template Type
Two settings decide how a workflow reaches other people, and they live in different places. Form interface, under More (⋮) in the canvas controls, sets the shape: leave it alone and the workflow is a Step template others fork onto their own canvas, or build a form and it becomes a Form template they run by filling it in. Workflow Settings is where you actually publish it. See Publishing and Forking.
- Use a Step template when: whoever you are sharing with will maintain the workflow. They get the canvas and can change how it works.
- Use a Form template when: whoever runs the automation is not the one maintaining it. They see a form, fill it in, and click Run. They never open the canvas.
The Marketplace in the sidebar is your catalog of pre-built workflows. Each template includes a name, description, category, and an overview of the apps it uses. That lets you scan quickly for what you need.
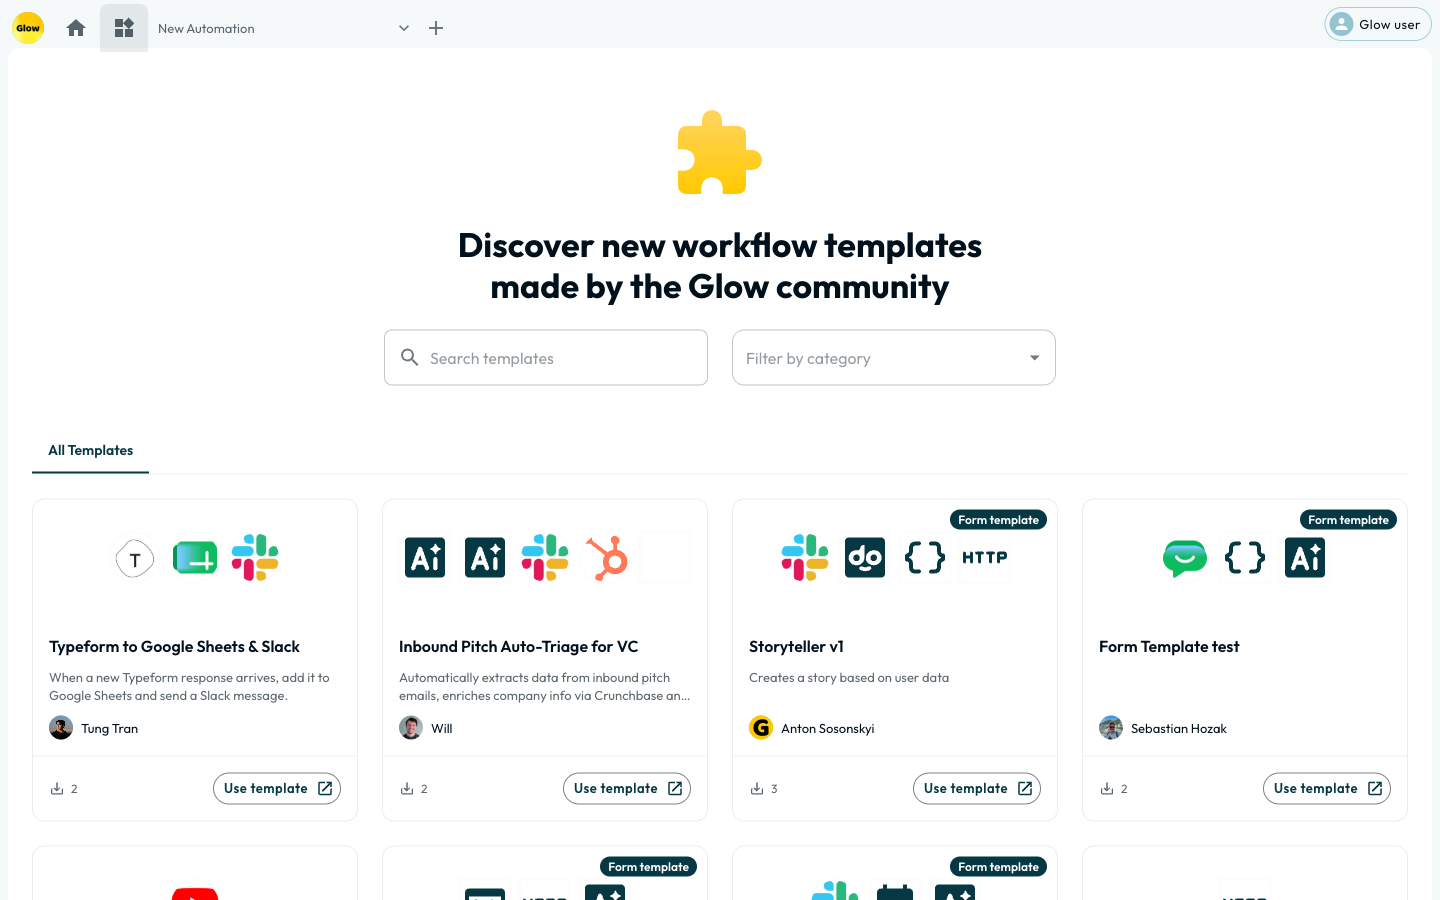
You can filter templates by category (e.g., Sales, Marketing, Engineering) and search by keyword.
Forking a Template
When you find a template that fits your use case, click Use template to create a copy in your own workspace.
Forking gives you a fully editable version of the workflow. The original template is not affected by any of your changes. You own this new copy entirely.
Tip: After forking a template, review each step’s configuration before hitting Run. Templates are built for general use, so you will need to authenticate your own app connections, signing in to your Slack or Gmail account for example. Check that the data mapping matches your environment too.
Publishing your workflows as templates
A workflow you created from a blank canvas can be published as a Step Template. A workflow forked from another template cannot be republished; start a new workflow if you intend to share an adapted version.
When you publish a workflow, you fill in the details others browse by:
- Name: A clear, descriptive title.
- Description: A summary of what the workflow does and the problem it solves.
- Category: The business domain (e.g., Operations, Support).
- Icon: A visual identifier for the gallery.
Check what your fields hold before you publish. Glow removes two things for you: credential fields, and the account each step is connected to. Whoever forks the template reconnects their own accounts.
Everything else you typed travels with the template. A key pasted into an ordinary text field, an internal hostname, a real customer’s name in a sample message. All of it is copied verbatim into a stranger’s workspace. Read through your steps and clear anything you would not publish deliberately.
Best practices for builders
If you are publishing a template for your team or the community, follow these guidelines to ensure it’s easy to adopt:
- Use descriptive step names: Rename generic steps like
HTTP Request 1toFetch User Data. This helps the person forking the template understand your logic instantly. - Leave Sticky Notes: Since Glow has an infinite canvas, drop sticky notes next to complex branching logic to explain why you built it that way.
- Test End-to-End: Before publishing, run the workflow with test data to ensure there are no dead ends or broken references. A template that works out of the box earns trust.
What’s Next?
- Give non-technical users a form instead of the canvas with Form Templates.
- Walk through the publishing details in Publishing and Forking.